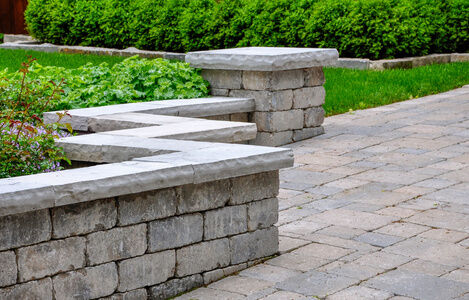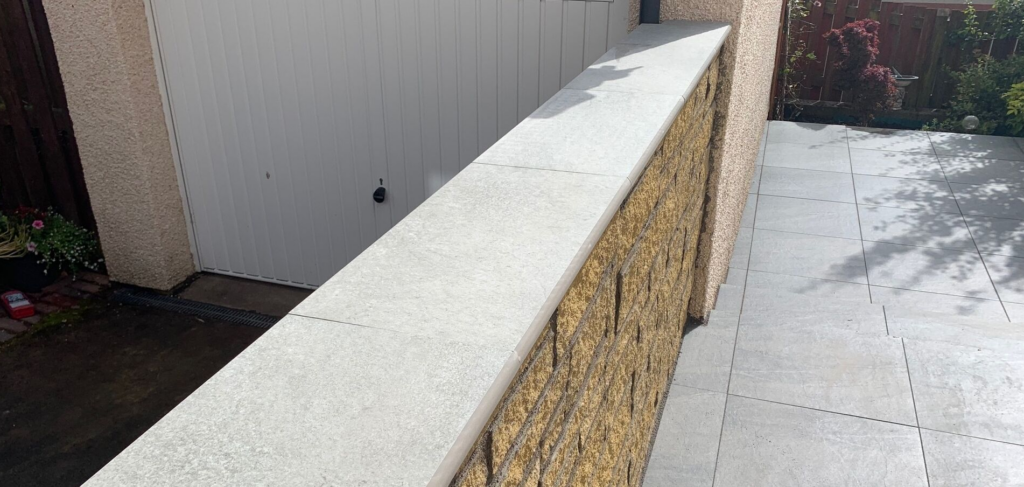
Coping stones are brilliant wall finishers and weather protectors that add a real aesthetic value and a robust, practical surface in your wall-top construction project. These flat, smart and versatile stones not only cap-off an exposed wall with a tough and highly protective weatherproof covering, they also come in a range of sizes, colours and styles to suit the demands of any project.
At Roof Giant, we offer hugely popular single weathered and twice weathered coping stones from Castle Composites, allowing you to influence the runoff direction so you can channel rainwater down one side or both sides and away from the wall. If you want to discover more reasons to buy coping stones today, discover What Are Coping Stones Used For? in our previous blog.
So once I've acquired my coping stones, how do I fit them?
There are a number of different ways to secure a coping stone, from mortar to mechanical fixing methods. Whatever your latest project requires, we'll give you the most reliable bonding options to ensure a high quality adherence.
How To Mechanically Fix Coping Stones
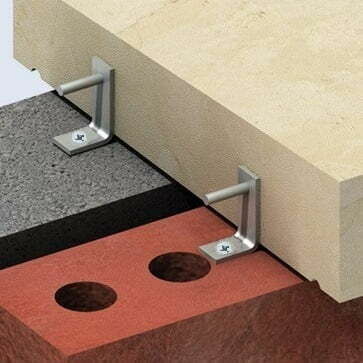
Our most popular Castle Composites Concrete Coping Stones are manufactured from high strength concrete which can be mechanically fixed onto horizontal surfaces using our convenient set of Castle Coping Stone Brackets & Fasteners.
To mechanically fix single weathered and twice weathered coping, your coping stones must be drilled on site prior to installation and then the fasteners, screws, pins and brackets can be subsequently attached.
#1. Each coping stone must be drilled to accommodate the 6mm pins. Holes should be drilled 20mm from the
bottom of the cope and at least 60mm from the sides using a 7mm masonry drill for this step.
Also, make sure that the right PPE is worn when you're drilling and adapting coping stones as needed.
#2. Once the holes are drilled and your coping stone is placed onto the wall, mark out where the holes must be drilled on the wall to secure the bracket.
#3. Drill the holes as needed using an 8mm masonry drill and then fit the Duopower plugs as provided with your Coping Stone Fasteners. The brackets can then be screwed into position with the stainless steel screws provided. When installing the pins we recommend resin bonding the pins into the holes.
#4. Once the pins are fitted the next coping stone can be prepared. Holes can be drilled in the next cope and a small section under the hole should be taken away using an angle grinder with stone cutting disc. This will provide clearance for the fitted bracket and it will easily allow the pins to slide into the holes.
#5. Your coping stone should be fitted to allow for a 10mm joint. Joints can be filled with a traditional mortar mix.
Castle Composites Pigment Pots are also available at Roof Giant to colour-match the pointing in buff and dark grey colour options.
How To Secure Your Coping Stones With Mortar Or Adhesive
When laying your coping stone, you can choose a 3-to-1 sand-cement mortar mix ratio to create a reliable adhesive. However, the recommended coping stone bonding solution is the Coping Stone Two Part PU Adhesive; consisting of a two-part polyurethane adhesive that is ideally suited to the installation or replacement of coping stones on garden and parapet walls.
Castle Composite Coping Stone Two Part PU Adhesive is ideal for small coping stone jobs that only involve a few stones, whereas mortar will be more cost-effective and easier to use for large coping stone jobs, although the adherence might not be quite as long-lasting as our PU adhesive.
#1. Before you lay your coping stone, it's your responsibility to first see to it that any freestanding, parapet or garden wall is in good condition and safe enough to accommodate the installation of a coping stone.
#2. For this straightforward installation method, ensure the surface is clean and dry and use a spirit level to check the wall is level - this is important, as levelling will be very difficult to achieve once the coping stone has been fitted.
#3. Apply your adhesive to your wall top and coping, according to the manufacturer instructions.
#4. Coping stones can now be put into place and secured using a rubber mallet. A deft combination of tapping and spirit level use will ensure that you achieve a wall coping arrangement where each stone is level with one another. If any adhesive or mortar gets on your stones, quickly clean away with a damp cloth.
#5. Allow the adhesive or mortar to set. Depending on manufacturer guidelines or average mortar setting times, this could take anything from 1 day to 1 week for the bond to set. Ideally, installation will take place on a day where the weather is dry and warm, for cold and wet days, the adherence process could take longer.
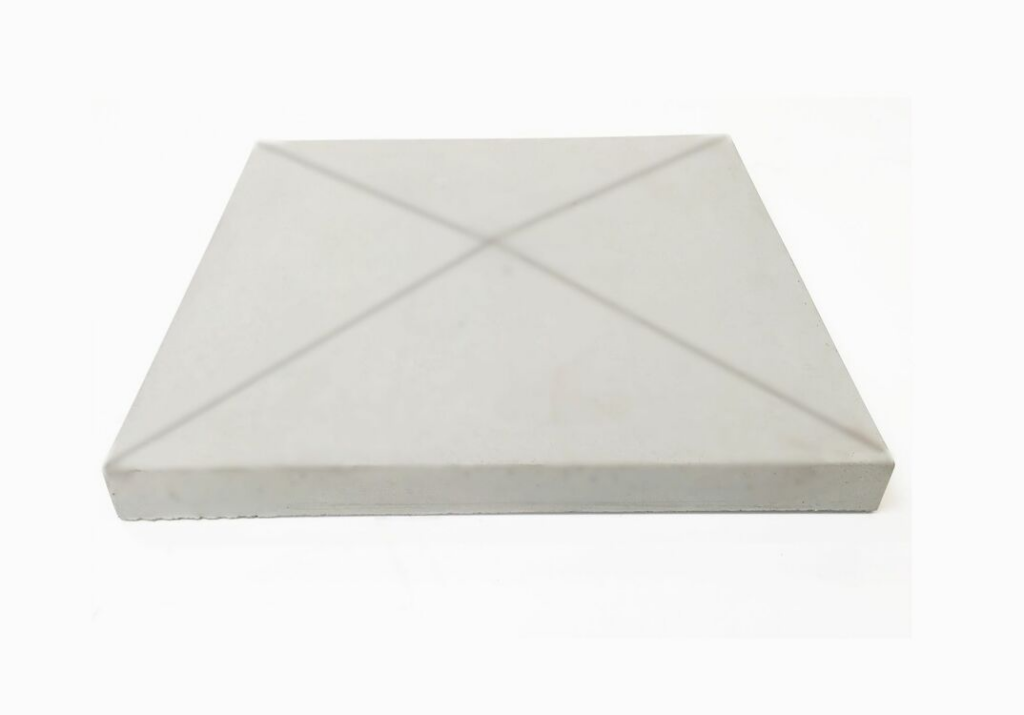
If you want to add a smart and weatherproof finishing touch to your latest garden wall, parapet wall or flat roof coping stone project, our high strength Concrete Pier Caps from Castle Composites are available in a range of sizes and colours, including Light Grey, Dark Grey and Buff, to suit your requirements. Once installed, you'll enjoy hardwearing and attractive concrete capping with drip checks to help keep water away from the wall or pillar.