If you are experiencing problems with your flat roof and are looking for effective, up-to-date ways to fix them, this comprehensive flat roof repair guide is for you. We cover common flat roof issues such as ponding water, blistering, leaking flashing, roof alligatoring, and more.
This troubleshooting guide explains how to carry out modern flat roof repairs using the most up-to-date best practices, including liquid roofing systems, EPDM repair methods, and GRP fibreglass techniques. In many cases, you can fix localised damage without needing a full roof replacement.
However, flat roof repair is only recommended when damage is confined to a small area and the underlying insulation and substrate remain dry and structurally sound.
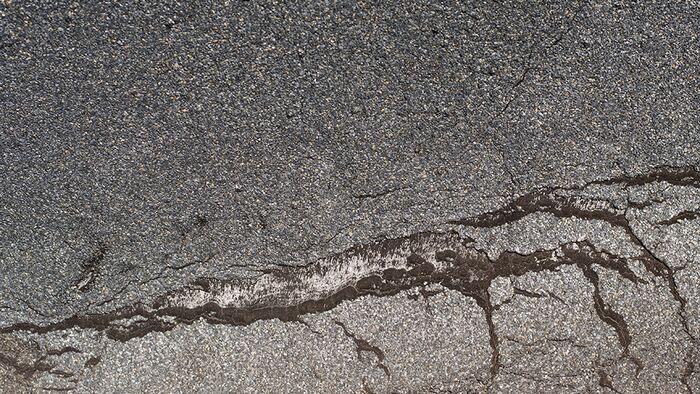
- Cracks & Splits: Fix flat roof surface damage quickly using modern waterproofing methods.
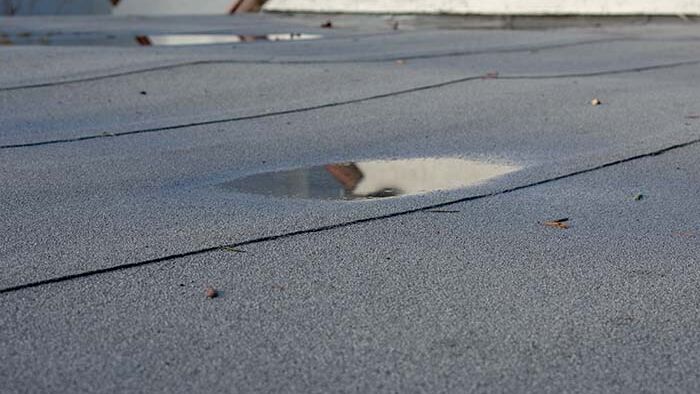
- Ponding Water: Discover how to eliminate ponding water and improve flat roof drainage.
- Blistering: Find out how to repair roof blistering and prevent future damage.
- Roof Alligatoring: Understand how to treat alligatoring and protect ageing flat roofs.
- Flashing Repair: Learn how to fix leaking flashing and restore a watertight seal.
- GRP Fibreglass Roof Repair: Find out how to repair GRP and restore full waterproofing.
- EPDM Patch Repair: Discover how to patch EPDM roofs and seal leaks effectively.