Installing a felt underlay roof is one of the simplest, strongest and most versatile roofing solutions for builders and DIY-ers alike. Whether you're dealing with a large or small surface, you'll be able to create a tough barrier against wind and rain without too much hassle, preparation or extravagant running costs.
Although felt roofing has been outstripped in recent years by more modern and long-lasting roofing techniques, knowing how to apply the necessary layers to a flat roof is an invaluable skill for anyone to learn. In this blog, Roof Giant will take you through 6 simple steps to successfully installing roofing felt today.
#1. Prepare Your Roof Surface
When installing felt on a flat roof project, such as a shed or even your home, thorough preparation is essential to ensuring the quality, finish and overall success of your finished felt roof.
Firstly, any deck surface that you're going to apply roofing felt to must have a good tolerance to moisture. For pre-existing roof projects, make sure you strip away old or current roofing felt, adhesives and projections such as nails and screws. Make sure the deck is dry and that any roofing felt is layered onto a surface that is tolerant to moisture. Also, examine wood surfaces for evidence of decay as well as moisture - dry out, repair or replace as appropriate.
For new roofs, you'll also need to check for protruding nails and evidence of moisture. If the surface is dry, make sure you clear away any dust and dirt to prepare your surface fully. On new roofs, we recommend purchasing exterior grade plywood or waterproof chipboard as a suitable surface to rest on your treated timber joints. Any mortar removal or more detailed preparation should be done in advance of your felt roof project.
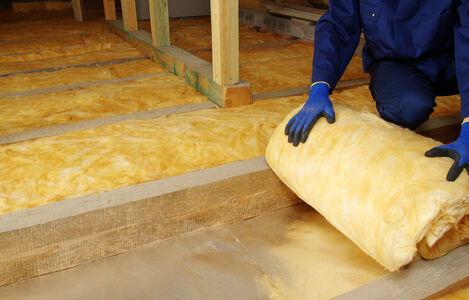
#2. Lay Down The First Underlay Felt Layer
Your felt underlay roof material will be the first layer that you need to install to the deck. At Roof Giant we offer a range of flat roofing felt underlay products and membranes, providing many benefits including great stability, tear resistance and impermeability to water and water vapour, depending on the product that you choose.
Starting at the lowest edge of your roofing surface, roll out the felt and accurately align it before cutting it to size with the EDMA Utility Knife, similar knife or cutting implement in our cutting tools range. Once cut and properly aligned, use Samac Clout Nails to nail your sheet to the roof; hammering your nails sporadically or at 75mm intervals, while, most importantly, avoiding the extremities of the roof edge, as we'll need to add a second layer over the top in the next steps.
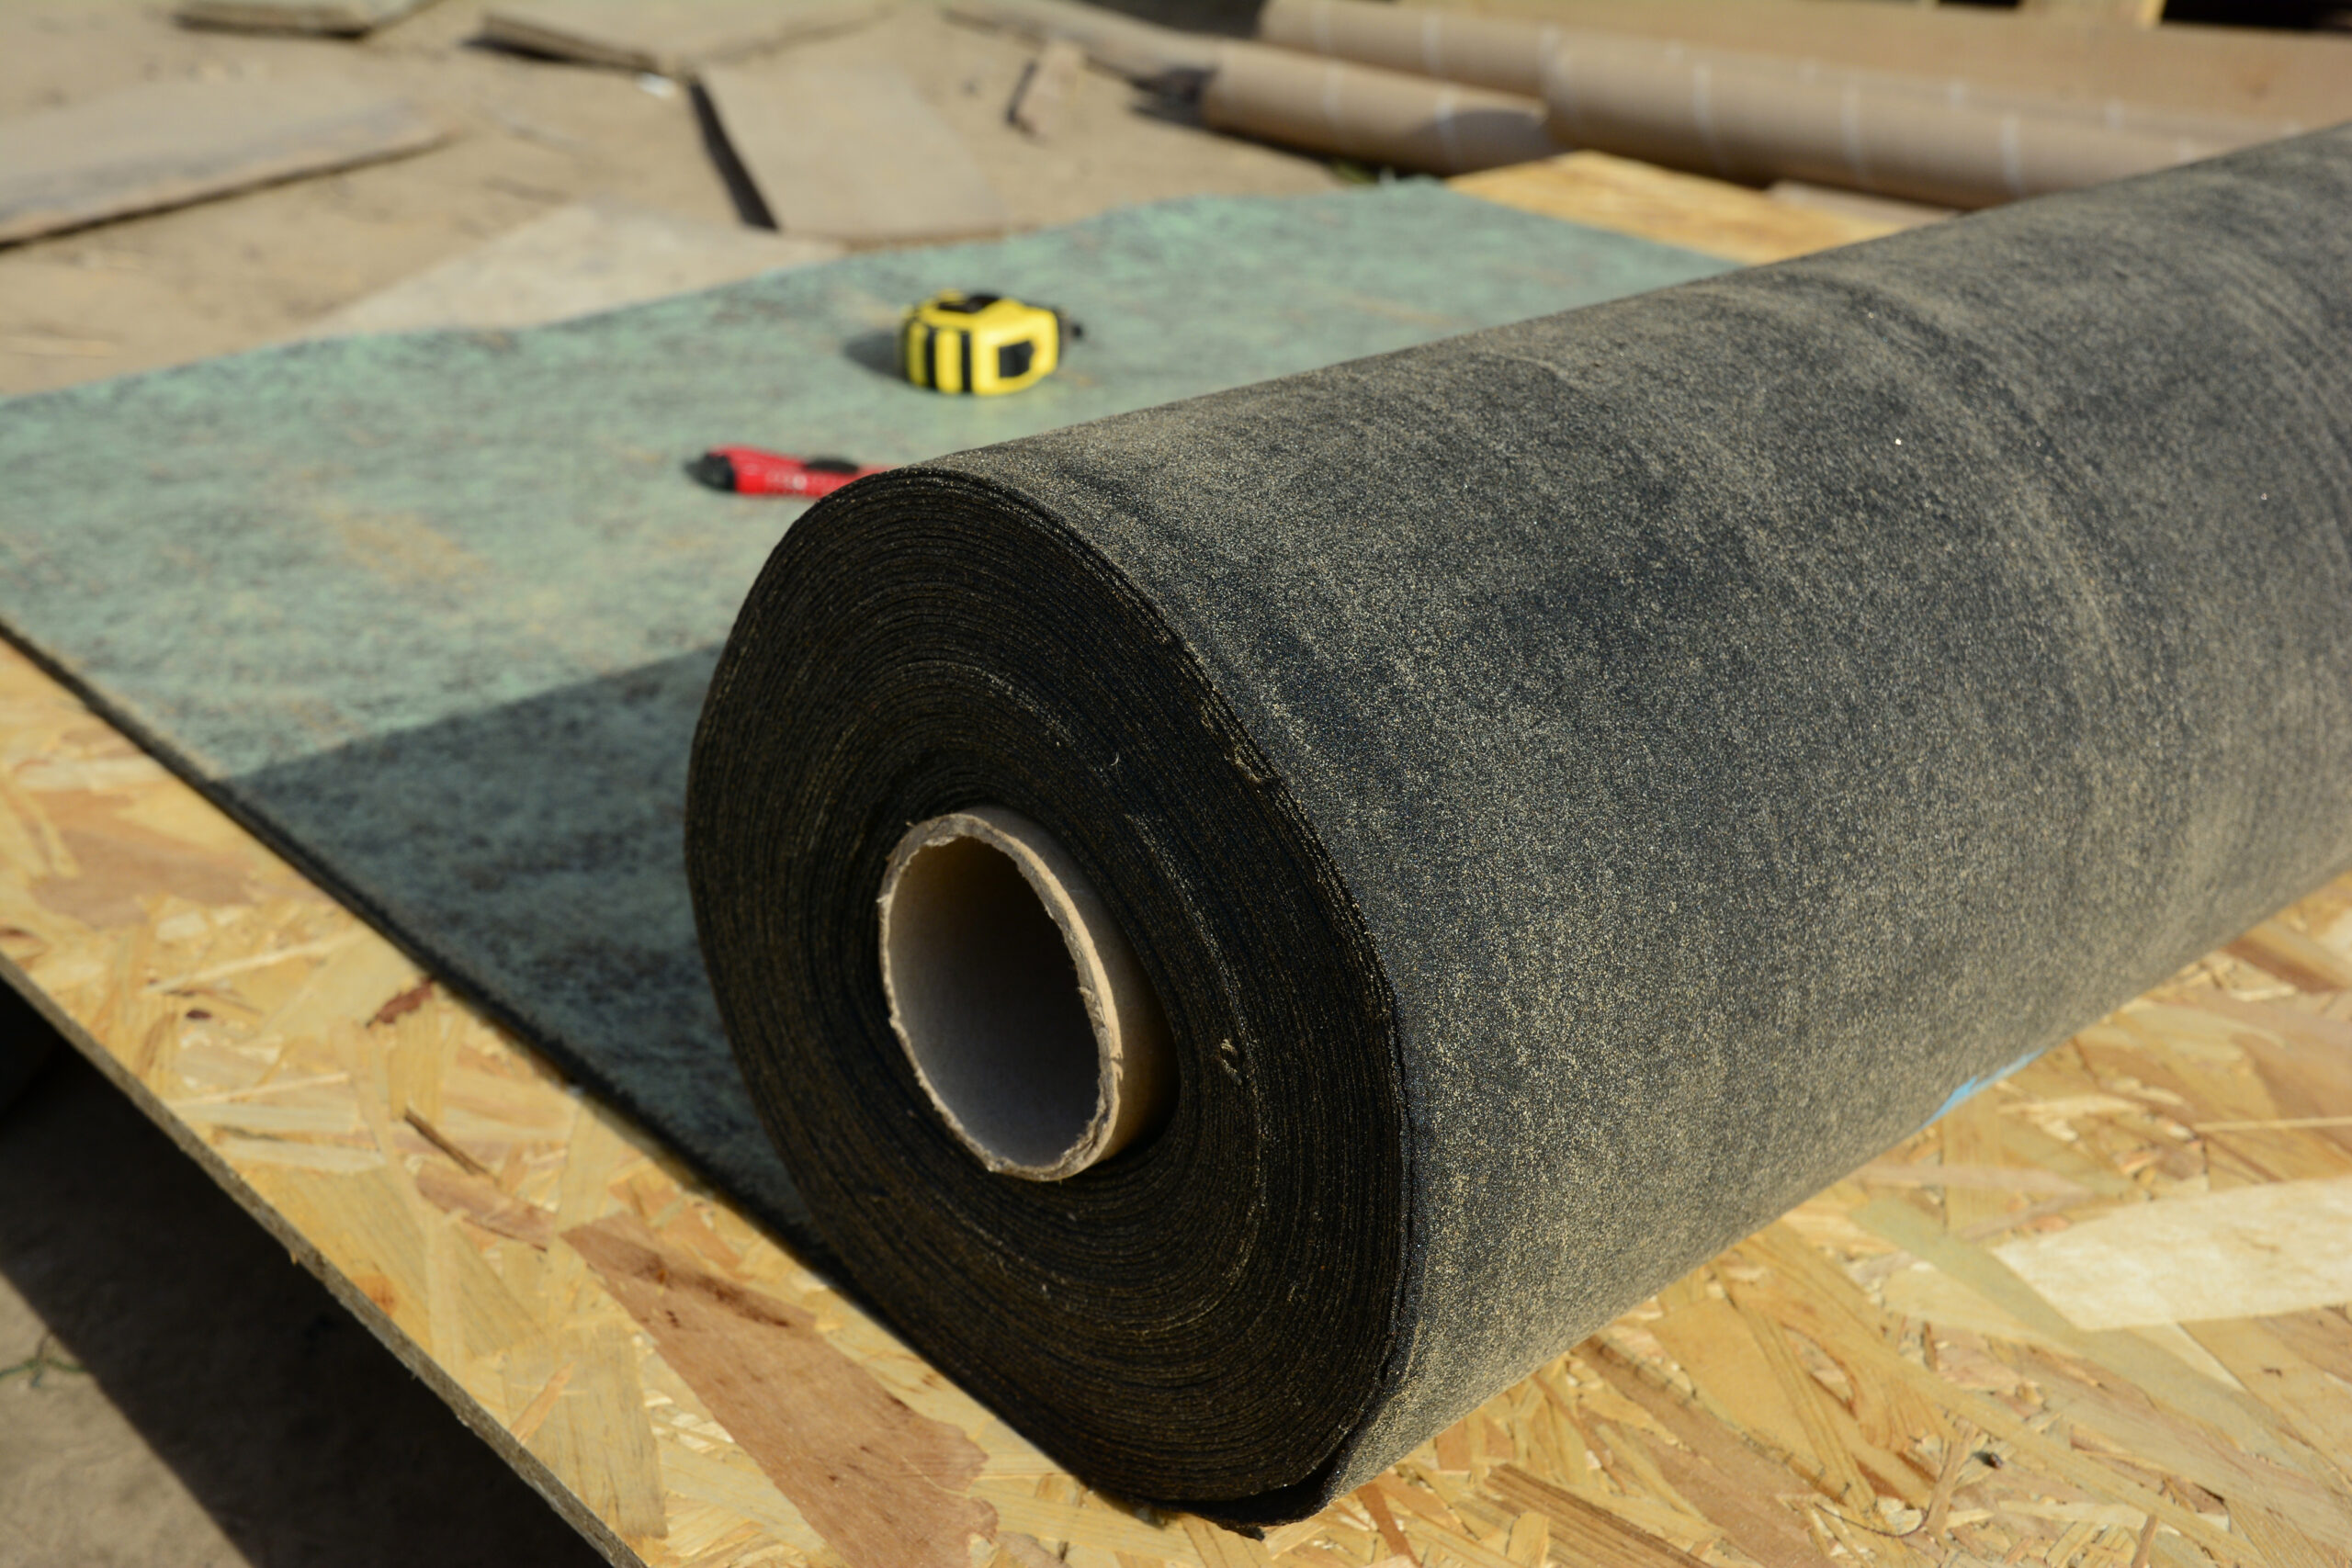
#3. Lay Down The Second Underlay Felt Layer
The purpose of applying a second layer of underlay is so that it can be bonded to the first layer using a suitable adhesive. When installing this layer, avoid joints occurring in the same place as your first underfelt layer and cut it to size, following any corresponding instructions carefully to ensure you achieve the highest quality and most reliable adhesion.
Once it has been laid down on your roof surface, a period of time will then need to elapse to allow it to settle - this will prevent air pockets and provide enough time for creases to be smoothed out. Often the best method for achieving brilliant adhesion is to apply your adhesive gradually, rolling on your second underlay layer in sections.
You can also install gutter drip trim at this point by overlapping the final felt sheet with your guttering. Once installed, water will cascade from your roof directly into your gutter, without infiltrating the deck underneath.
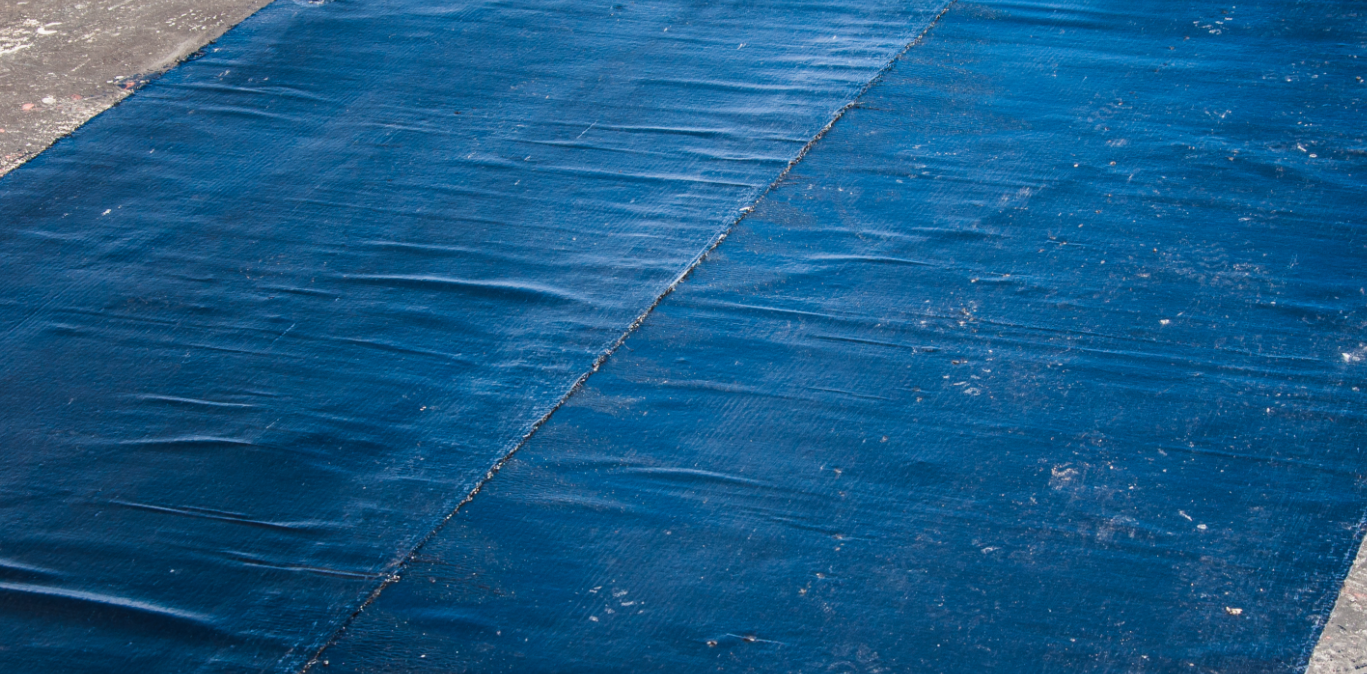
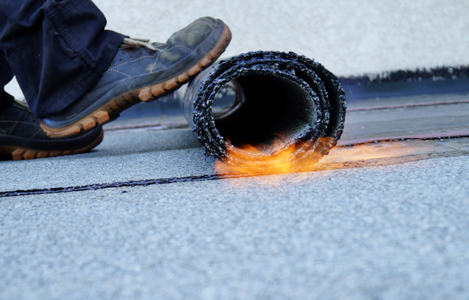
#4. Apply The Top Bonded Felt Layer
The top layer, or mineral cover layer, can now be adhered to the second layer using the exact same adhesive method.
#5. Install Necessary Edging
Add any edge flashing and verges to prevent driving rain over the edge of the roof that could cause damage. You can also install fascia board upstands and arris rails can be installed where two fascia boards meet.
#6. Add The Finishing Touches
Inspect your finished roof for areas that require additional work; this may include addressing gaps or areas that need more adhesive touch ups.
Shop our full range of roofing felt here.