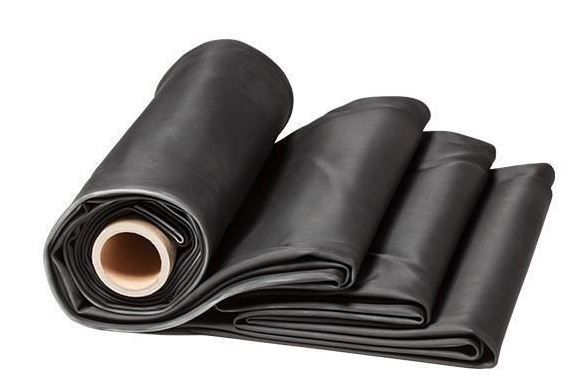
If you're looking at all the options for your next roofing project, you could do a lot worse than an ethylene propylene diene monomer, or EPDM, rubber roof.
An EPDM roof is one of the most practical, eco-friendly and long-lasting systems you can install, creating a hardwearing, weatherproof finish that will last upwards of 30 years if proper installation and maintenance are carried out.
This brilliant investment will hold up against harsh UV rays, heavy rainfall and freezing conditions while providing penetration resistance from hail and similar weather elements.
To install a fully functional EPDM roof that will last decades, it all comes down to the quality of the installation, and a few general inspections of the roofline once in a while to check for signs of damage and fixing accordingly.
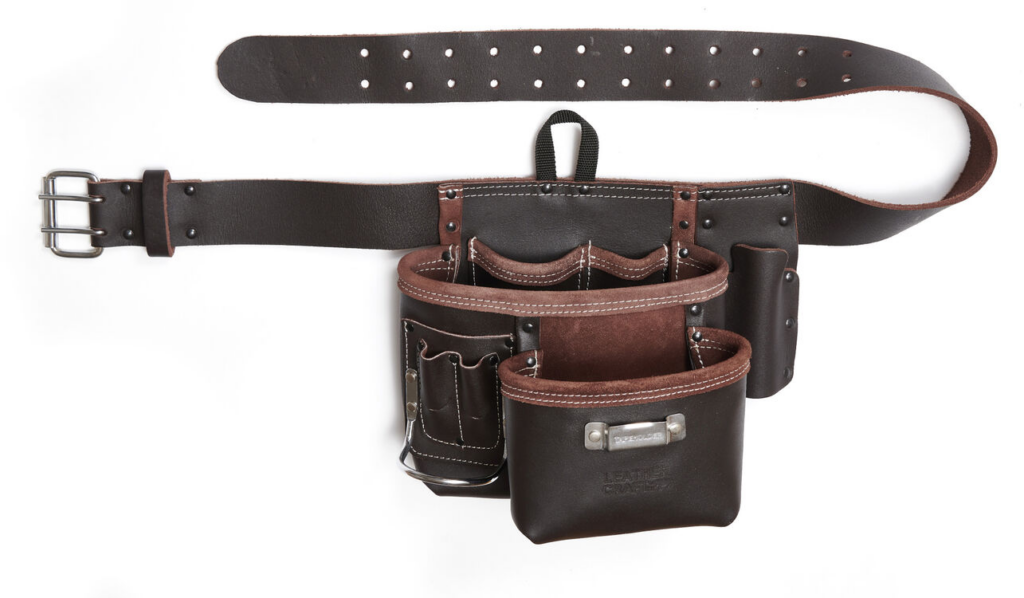
You can also browse our range of premium quality leather tool belts, storage pouches and heavy duty holsters to hold your roofing supplies including hammers, screws, nails, fasteners and other equipment. Discover durable genuine oil tan leather work belts designed to withstand the day-to-day rigours of a roofing professional.
#1. Before installing your EPDM Roof System, make sure you pick a few days where dry conditions are guaranteed. Inspect and sweep down the substrate surface so it's completely clear of dust, debris, nails, screws, or any other protruding obstructions that could damage the rubber membrane or prevent the adhesives from bonding correctly.
#2. Lay down the membrane on the substrate, checking to see if it has a top or a bottom by looking out for any printing, brand logos, watermarks etc. and lay down so the completely plain side is facing up.
#3. Let the membrane relax for 30 minutes to an hour to get rid of creases. It's important that there's a bit of overhang over the substrate so you can create a completely sealed and watertight finished roof system.
#4. Once you've let it relax, draw half the membrane back to the centrepoint and begin applying the waterbased adhesive with the paint roller. Leave a 150mm wide perimeter free from adhesive as these edges require a slightly different contact adhesive later on. Apply the water-based adhesive in sections and lay down segments of the EPDM on top of the wet adhesive before coating more of the substrate and repeating this process. Brush in freshly laid EPDM with your broom to improve adhesive contact.
#5. Once you've completed one side, roll back the opposite side to the centrepoint and repeat the adhesive rolling and laying process. Be careful not to get any adhesive on the upward-facing surface of the rubber, if you do, wipe off before it dries.
#6. After you've completed both sides, sweep the finished surface to remove any air pockets - this will also create more positive contact between the membrane and adhesive.
#7. If you still notice any creases or unsightly folds in the membrane, put some weight down on those areas to promote bonding and create a professional finish.
#8. Using the smaller paint roller, apply the contact adhesive to the 150mm wide perimeters of the substrate - the contact adhesive creates a faster, stronger, more permanent bond that will prevent uplift and water infiltration.
#9. Cut away any excess flaps of EDPM, leaving an overhang that is just a little shorter than the PVC trim that you're going to nail on and finish off the edges of your roof.
#10. You may also be creating a gutter system consisting of timber battens and trim that will allow the water to flow off the roof and into the gutter - this will be a similar process to installing the PVC edge trims.


