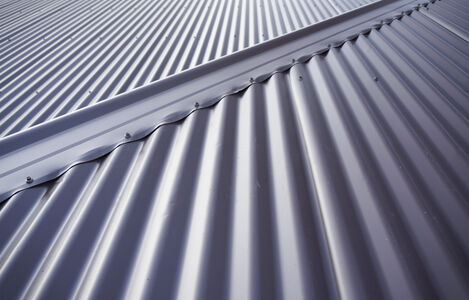
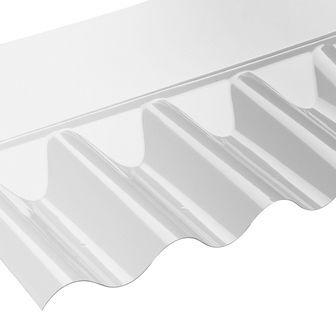
When it comes to roofing, there are few materials that are able to offer durability, economy, versatility, long-life and a lightweight feel, all in one product. This is where Vistalux Corrugated PVC Sheeting comes in...
Great for a wide range of different roofing and cladding applications - from carports and canopies to covered walkways and garden sheds - PVC sheeting is simple to install, cut and drill. It can also be installed pretty successfully in the winter months, with no vulnerable materials to get damaged by torrential rain and no adhesives to fail in the freezing temperatures.
In this guide we'll be focussing on our very own Vistalux range available at Roofgiant, giving you a general step-by-step guide that can be easily integrated into a number of installation processes and projects you have in mind.
#1. First of all, obtain all the materials required for your PVC sheeting project. Bare in mind that your project will be a lot easier to complete if you stick to the standard sheeting sizes, so plan everything out carefully beforehand. Roofgiant have a wide range of different dimensions to choose from to match up as closely as possible to the task at hand.
#2. Ensure that you have the correct tools before getting started. The Vistalux manufacturer's video outlines everything required for a Car Port installation, including the following tools to help give you an idea of what you need, which may also cross over with your other projects:
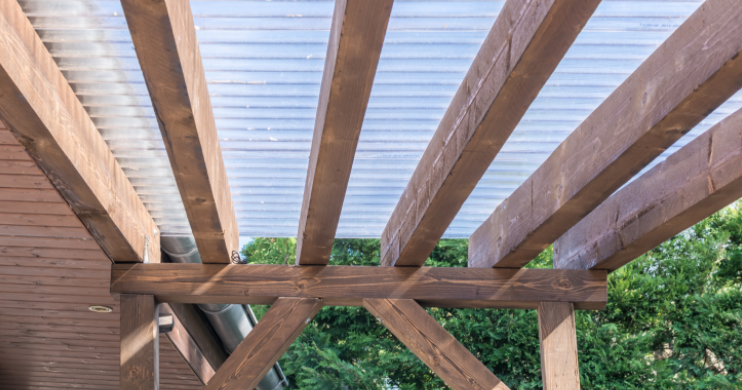
#3. Make sure your supporting structure is built with a 5 or 10 degree slope. Ideally - this will provide you with the ideal gradient for optimal water runoff.
#4. Lay down your sheets on the roof in their intended positions, marking any screw positions or sawing cuts with a marker pen.
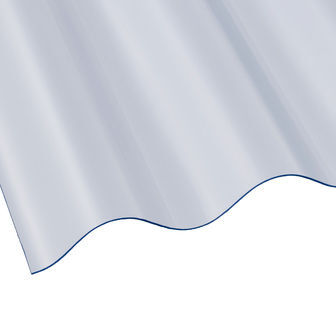
#5. When in place, your sheeting should overhang by a minimum of 6cm (2.3 inches) to allow for effective water run off into the gutter and should overlap boards and sides so none of the sheet-facing supporting structure is exposed to rainwater.
#6. If you need to cut or drill your corrugated sheets, firstly, make sure that you're not doing it in extremely cold weather, as this could make your sheeting more prone to damage - warmer sheets will be easier to cut. Always support your sheets when using an angle grinder and, if cutting, support the sheet you're working on between two other corrugated sheets, with the portion you want to trim sticking out from the two supporting pieces. If you need to cut your sheeting to a particular width, always cut on the sloping part of one of the corrugations.
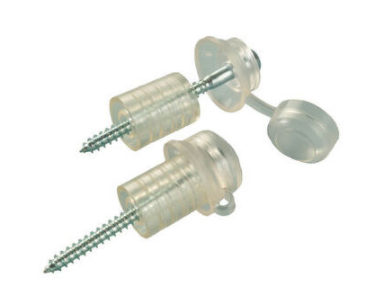
#7. Before fixing your sheeting to the eaves, make sure you pre-drill your sheets with a masonry bit, pressing lightly down on the marked drill points and at a lower speed. All holes drilled must be larger than the fixing itself to make allowances for natural expansion.
#8. With brands such as Vistalux, flashing can be used to match smartly with the corrugated sheets and fixed in place with sealing tape to create a watertight seal at the top of the slope and then screwed to the existing corrugated sheet that it overlaps
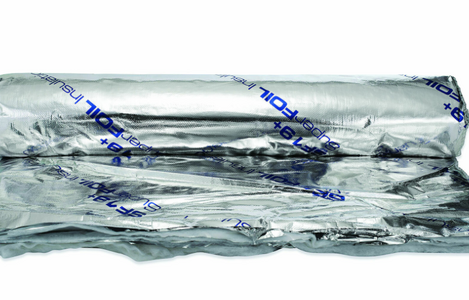
#9. Vistalux foam eaves fillers can be installed in the spaces under the supporting struts of your roof to reduce the sound of PVC clattering in windy or stormy weather - the fillers can be installed using screws, caps and washers.
#10. For more specific fixing instructions and installation advice, refer to the relevant Vistalux Guides and Product Range Overview Brochures at Roofgiant.