Pinpointing the source of a leaky flat roof is far from an exact science and requires a lot of detailed inspection and trial-and-error investigation.
Evidence of a leak can show up absolutely anywhere on your roof and will usually become obvious by the appearance of damp patches on your ceiling.
Although you're going to need to employ some thorough assessment and creative thinking to find the hole, split or flaw in your roof, your greatest asset will be patience with this job.
To help you out, Roof Giant have put together 6 ways to make finding your flat roof leak easier today...
#1. Get rid of all debris and loose material from the surface of your flat roof and guttering to clear the way for a general inspection of the roof area and surroundings.
Once cleared, ask yourself: Are there any obvious flaws in the flat roof that you can see now the surface has been cleaned? Could overhanging trees or branches have pierced the roof during a windy day or a storm? Are there any other hazardous objects or obstructions that could have caused the leak?
#2. Bear in mind that evidence of water, dampness or staining on the ceiling doesn't necessarily mean that the leak is located directly above that spot on the roof - a proper inspection is always needed first.
#3. Pay particular attention to low areas on your roof surface as well as concentric rings of dirt - these can be clear signposts of water pooling, which can help lead you to discovering the location of a leak.
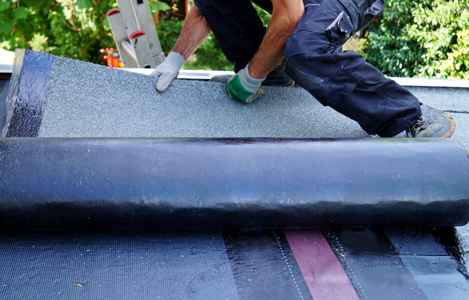
#4. Look for any evidence of previous roofing repairs, such as DIY caulking or tar patches. If these types of repairs are old or completed to a poor standard, it's possible that they could have disintegrated and allowed water to infiltrate your home over time.
#5. Inspect roof nails for rust and other forms of corrosion - or if they're missing entirely - and replace accordingly.
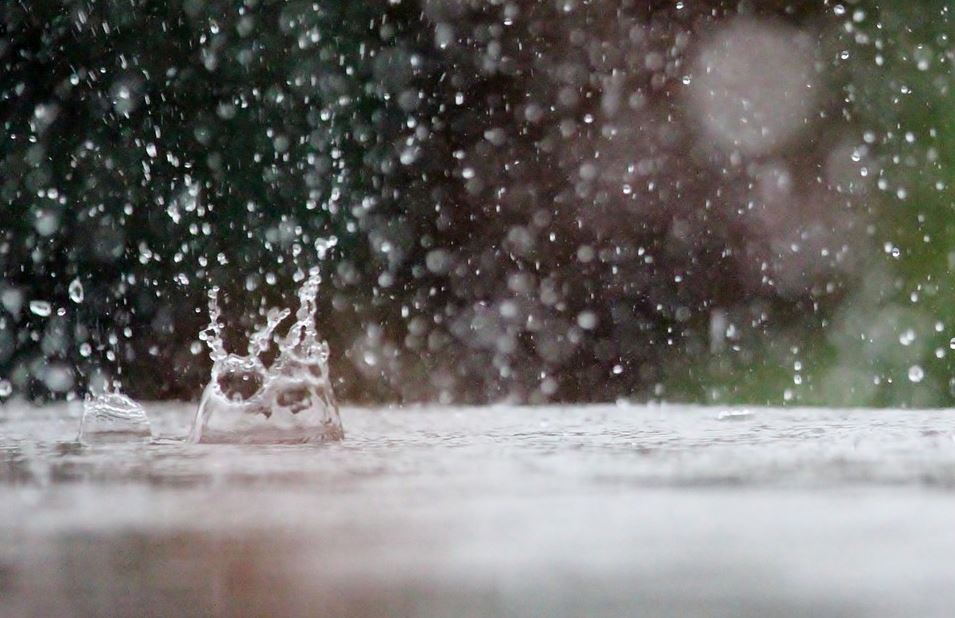
#6. Still can't locate the leak? Use a hosepipe or watering can and pour controlled amounts of water onto sections of your flat roof or certain 'suspect' areas while someone else checks for water seepage on the ceiling below.
Although this watering trick can be very effective, we recommend that you only try it after you've exhausted all other possibilities as it's a very time-consuming and often misleading process. This is because water can take a fairly circuitous path from the roof to the ceiling, meaning that dampness on the ceiling may actually correspond to a very different area of water on your roof. Make sure that you leave ample time between each individual pouring session to allow you to assess any potential leakages accurately - pouring too much at once will just make the whole process more confusing and protracted.
Whether you find a leak after these 6 steps or not, we advise you to seek the advice of a professional roofer to evaluate the breach and assess what kind of repair work is required.